
Import Photos
Add Watermark
Export Watermarked Copies
Feature Showcase
Create eye-catching watermarks in just a few clicks
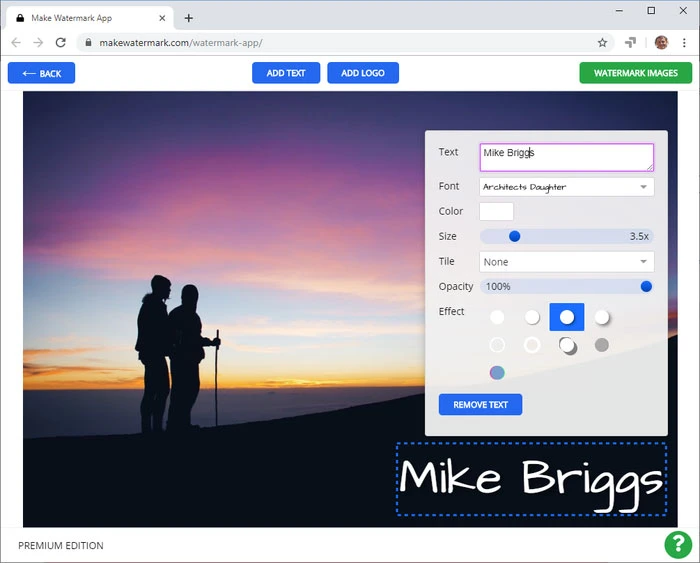
During editing, you will have a great view of your image, since it will take up the majority of the screen. However, please, note that you won’t be able to zoom in and out of your photo. In our free watermark maker, the toolkit shows up right next to a watermark, so all the essential tools will be readily accessible, and you won’t have to move the cursor around the screen a lot. This will undoubtedly make the editing process unchallenging and quick. Make Watermark offers a great variety of tools, with the help of which you’ll be able to design individualized watermarks that will become a harmonious part of any photo. You can:
Choose one of 900 assorted fonts
Adjust size and opacity using scroll bars
Enable straight or diagonal repeated watermarks
Add one of 65 varied effects

Watermark a batch of photos
Do you need to add a watermark to more than one photo? Perfect! Our app can process several dozen images in one go! If your batch consists of small and large photos, the app will modify the size of your watermark. If you upload a few landscape- and portrait-oriented photos, the position of your watermark will be adjusted. Both of these actions are done automatically by default. However, Make Watermark has the Preview Section, where you can reposition and resize your watermark on each image manually.
Your privacy is our top priority
Free software products from unverified sources may contain malware, which is why it’s dangerous to download them. Not to mention, that installation of any offline app will, at best, steal a few minutes from you. Online services are better and safer to use since neither your computer will be put at risk nor your time will be wasted. Make Watermark is a risk-free and trustworthy online application that is built to protect your visual content from being stolen.
Your photos never even reach our servers, let alone get stored there, because they are processed in your browser. Not a single person from our team has access to them. In addition to that, our watermark maker establishes only secure connections. You may rest assured that your files and devices will be perfectly safe with us. There are neither unwanted pop-ups nor intrusive ads. We want you to have a great experience!
All The Features
Textual Watermarks
Multiple Fonts
Your Logo
Unobtrusive Watermarks
Repeated Watermarks For Better Security
Resize Watermarked Copies
How To Make a Watermark For Photos in 4 steps
Watermarking is incredibly easy. Even if it’s your first time using an image editing app, you will still be able to use Make Watermark with no trouble. Your photos will have a beautiful-looking logo, text, or both in just a couple of minutes.
Upload your photos from your computer, Google Drive, Google Photos, or Dropbox.
From Your Computer
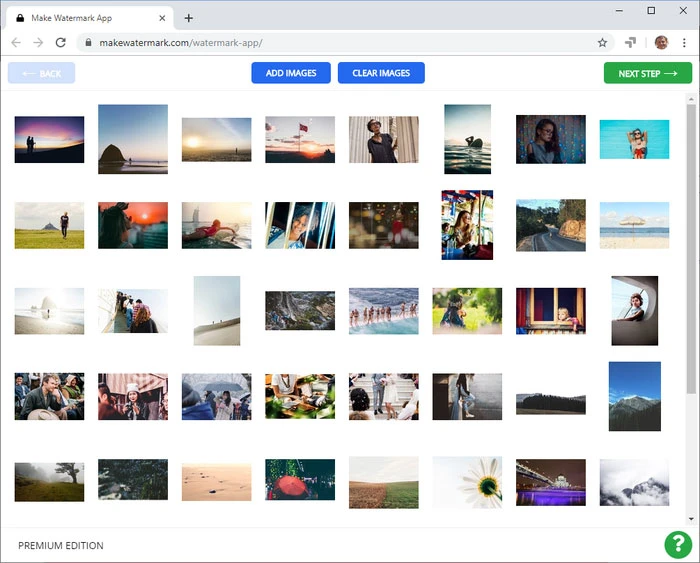
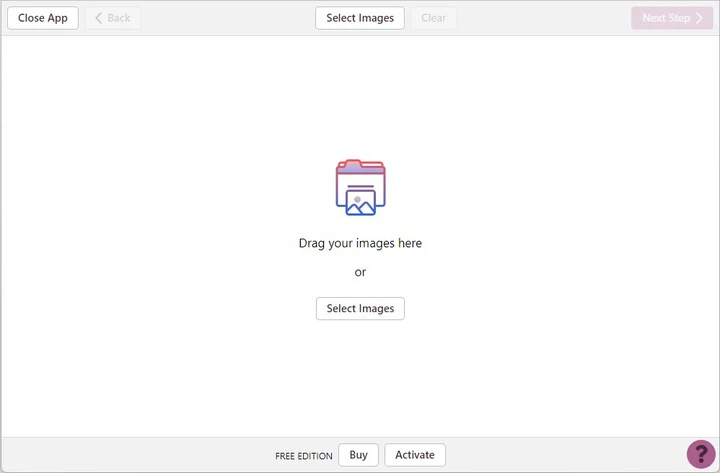
Open the selected folder on your computer, then drag and drop your images directly into our watermark maker. It is also possible to click on "Select Images" and pick "From My Computer". Next, choose photos that you need to watermark. Press Ctrl+A on Windows or Cmd+A on Mac to select all pictures in your folder.
From Google Drive
After you pick "From Google Drive" in the "Select Images" menu, you will need to grant access to your cloud storage. Simply click "yes" in the popped-up dialog. Once the Google Drive Picker appears, choose the photos. If you hold Shift, while clicking on images, you will select several of them. The importing process for Google Photos is exactly the same.
From Dropbox
If you choose the "From Dropbox" option for importing, you will have to give the approval to Make Watermark. To grant access to your cloud storage, pick “Yes” in the popped-up dialog. Now, choose images for watermarking in the Drobox Picker. Click on images, while holding Shift to select several of them.
Clear images
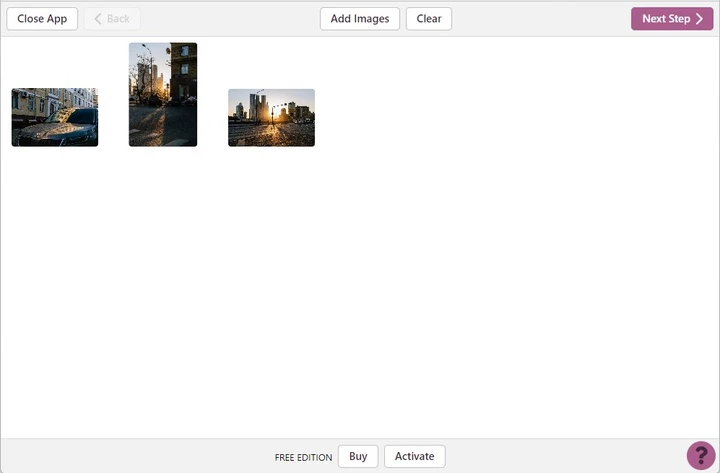
By clicking on the "Clear" button you will remove all imported images from the app.
In Make Watermark, it is possible to add a textual watermark (Add Text) or a logo (Add Logo). You can check out our gallery and pick one of our built-in icons or, alternatively, upload a PNG logo file from your computer, DropBox, Google Drive, or Google Photos.
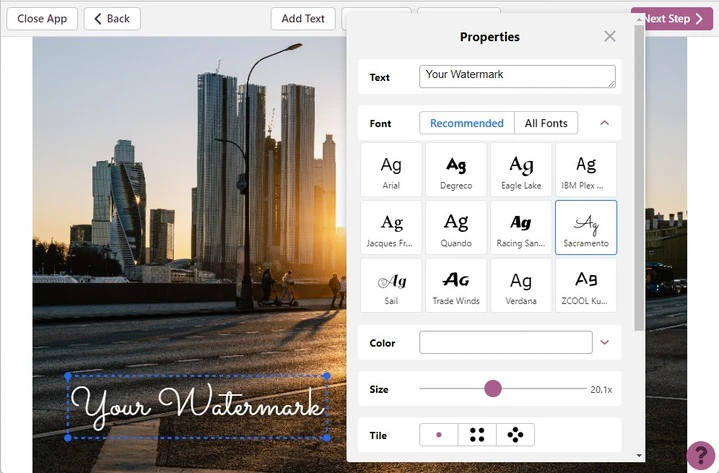
A textual watermark will say "Your Watermark" when it first appears. Click inside the "Text" input box, erase the word, then type in your name, the name of your brand, or whatever else you want. Your watermark can be repositioned using your cursor. Our watermark maker offers a comprehensive set of editing tools. It includes a vast library of fonts and a variety of colors – solid and gradient ones. There are several sliders to resize and rotate your watermark as well as adjust its opacity.
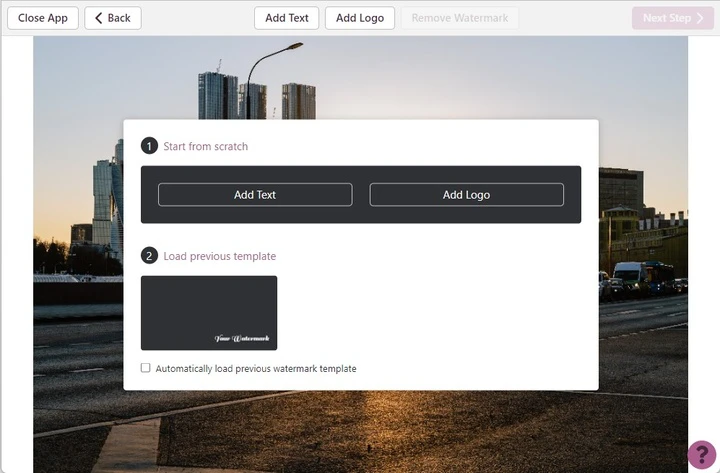
You might find the list of previously used templates extremely useful since it contains 10 watermarks that you applied to your photos at least once. To make this list visible, click on "Remove watermarks" to get rid of all active watermarks on your image.
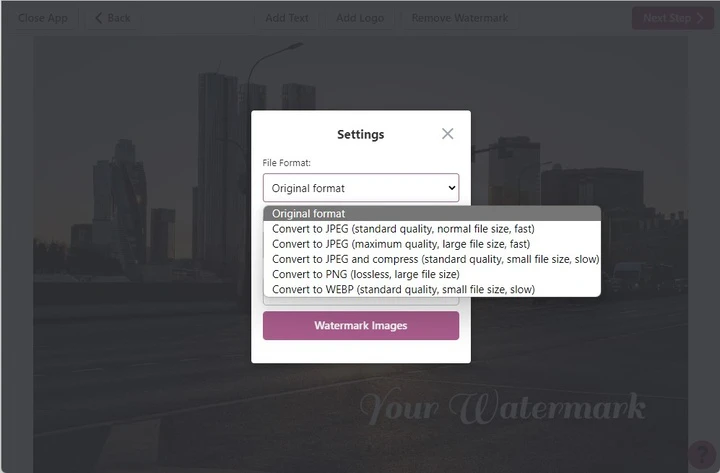
You can go to the Export Settings by clicking on the “Watermark Images” button. You’ll find two options here:
In addition, you can enable the option of your watermark being the same size in pixels on all images.
The Preview Section
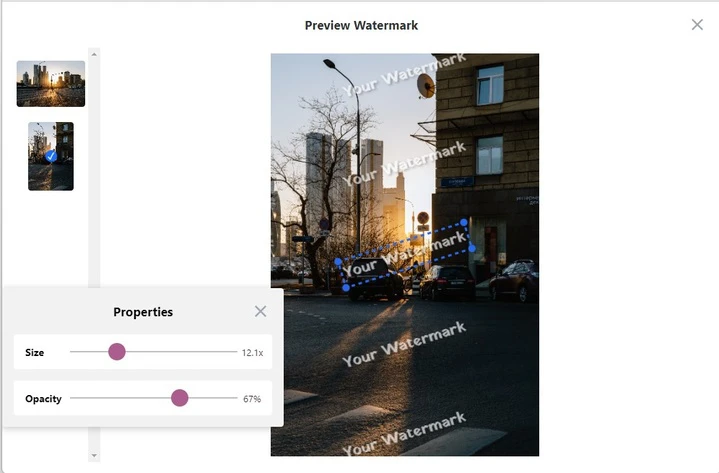
Here, it is possible to view how your watermark looks on each photo. You can also reposition it as well as modify its size and level of opacity using sliders. The alterations won’t affect other photos, so you can edit your watermark on each image.
The Preview Section can be opened by clicking on the “Preview Watermark” button and closed by clicking on the cross in the top right corner.
Now, click on the "Watermark Images", and the watermarking process will begin. Once it’s finished, you’ll have three options to choose from:

You will also see the list of all the watermarked images. To download each photo separately, you need to click on its name on the list.